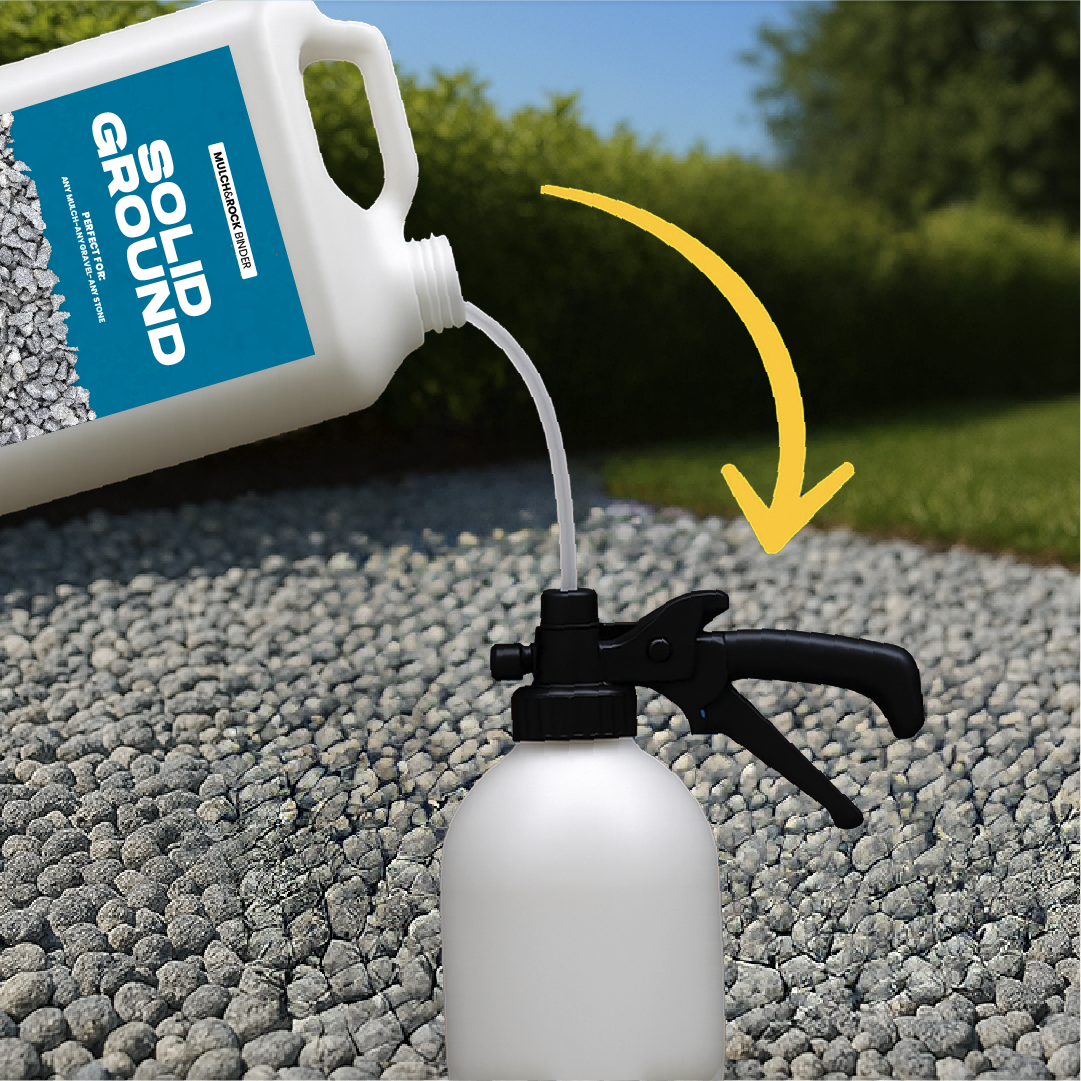
Shake the bottle thoroughly and transfer SOLID GROUND into your sprayer. For best results, we suggest using an airless sprayer.
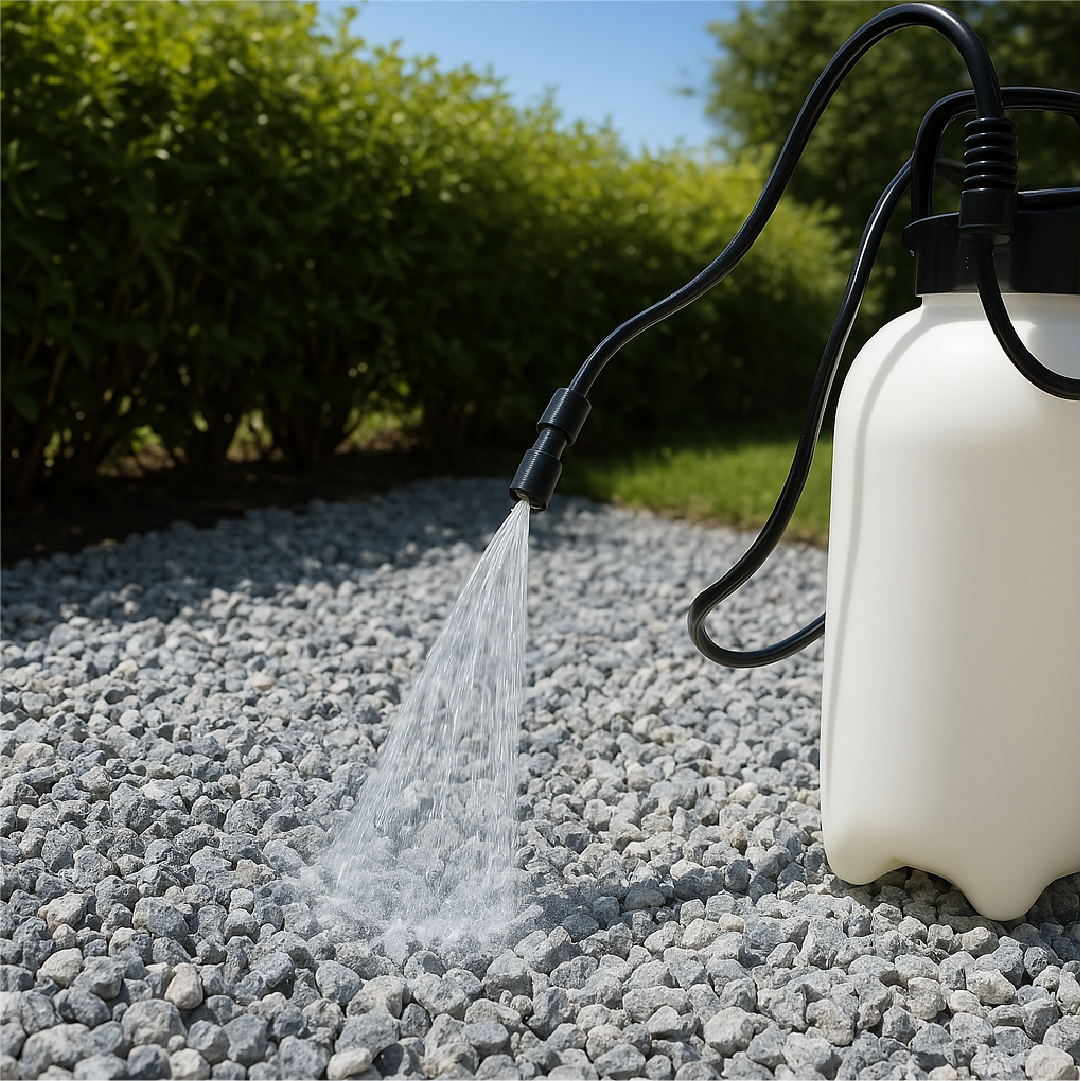
Apply the first layer to a clean and dry surface, spreading the mixture evenly and gently. Ensure a uniform distribution. Avoid over-applying!
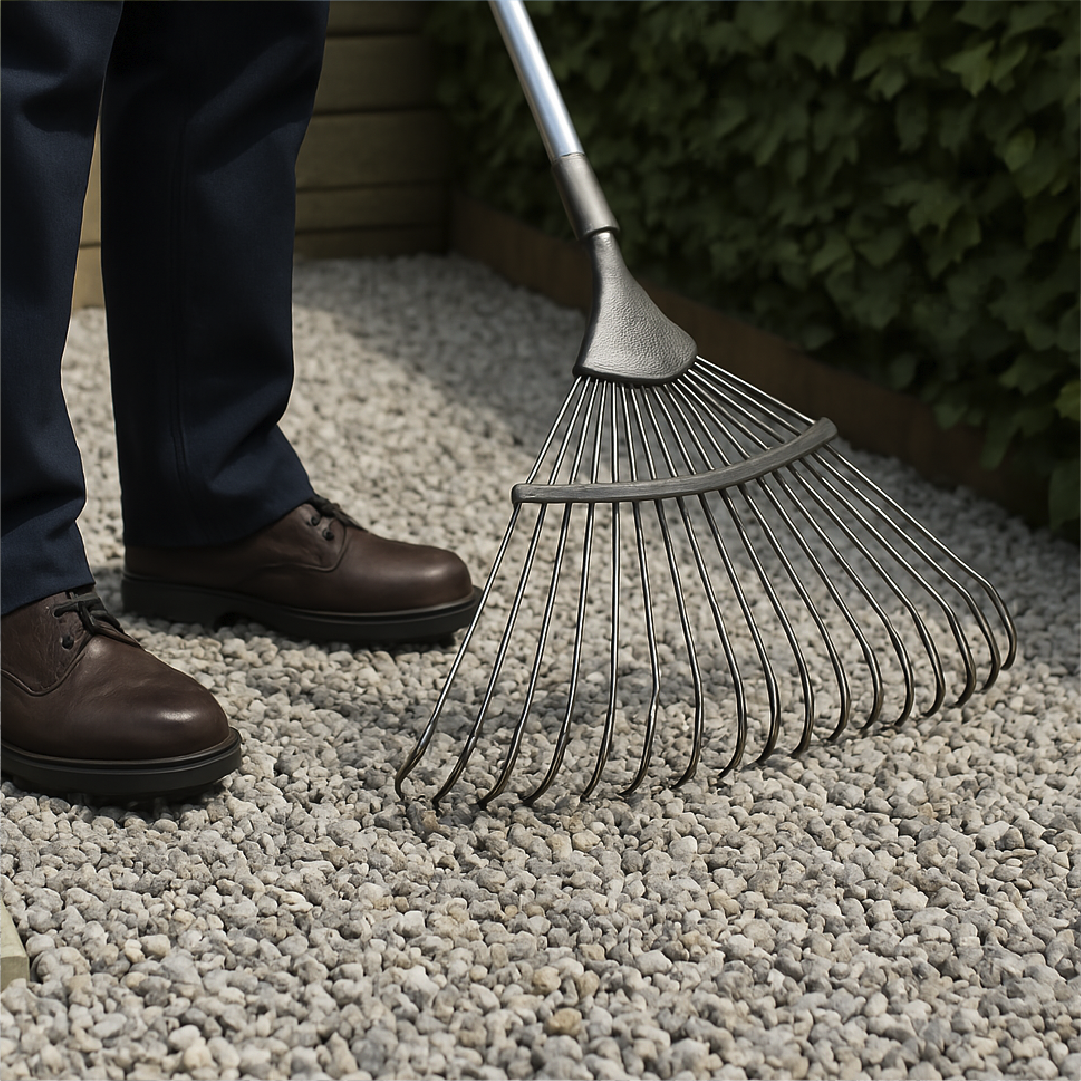
After applying the first coat, gently rake or turn the mulch or stones to reveal any uncoated areas. This step ensures complete and even coverage of the entire surface with SOLID GROUND.
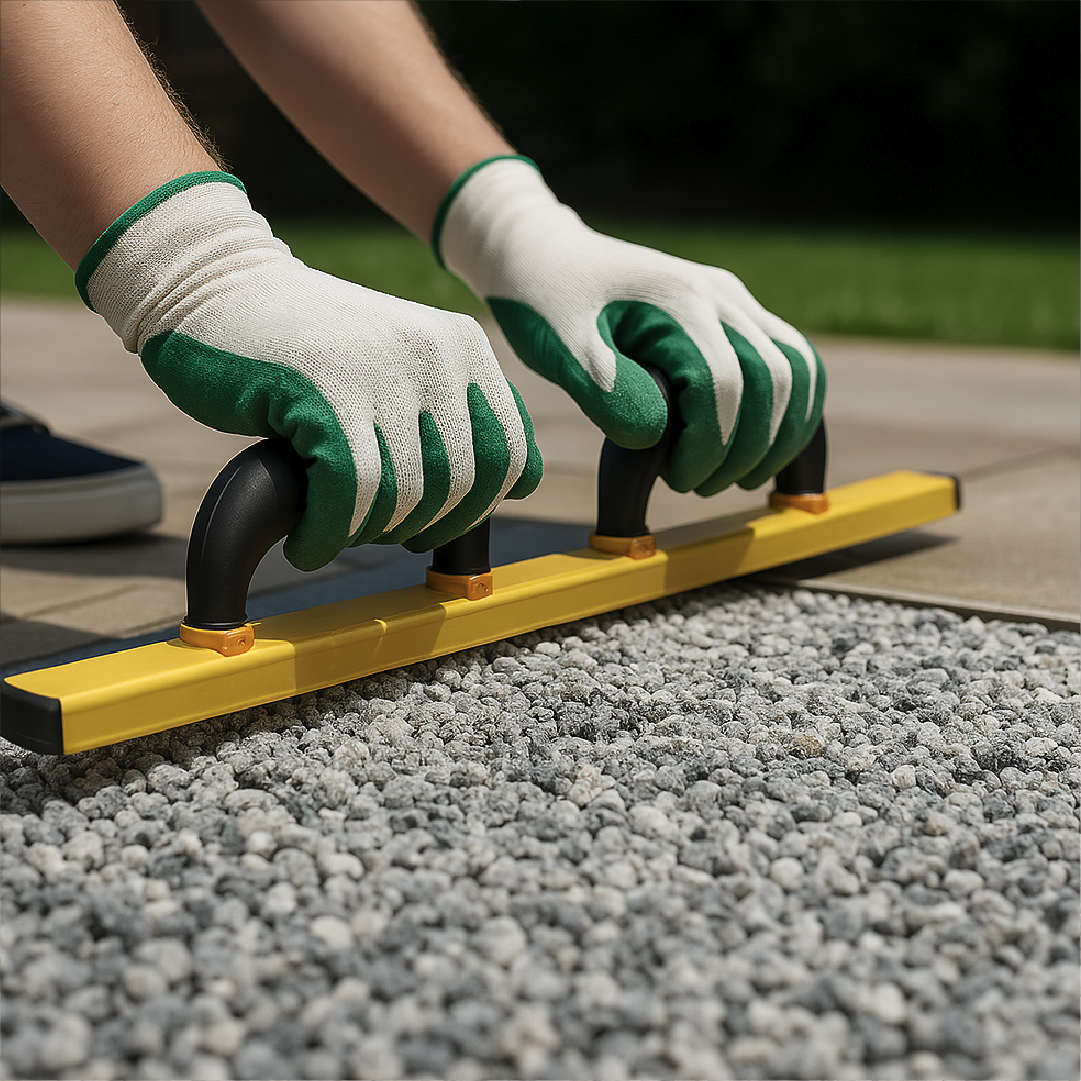
Repeat the same process as in Step 2 for the second layer. Once the surface is evenly coated, compact it using a trowel or a flat wooden board to ensure optimal bonding and a smooth, stable finish.
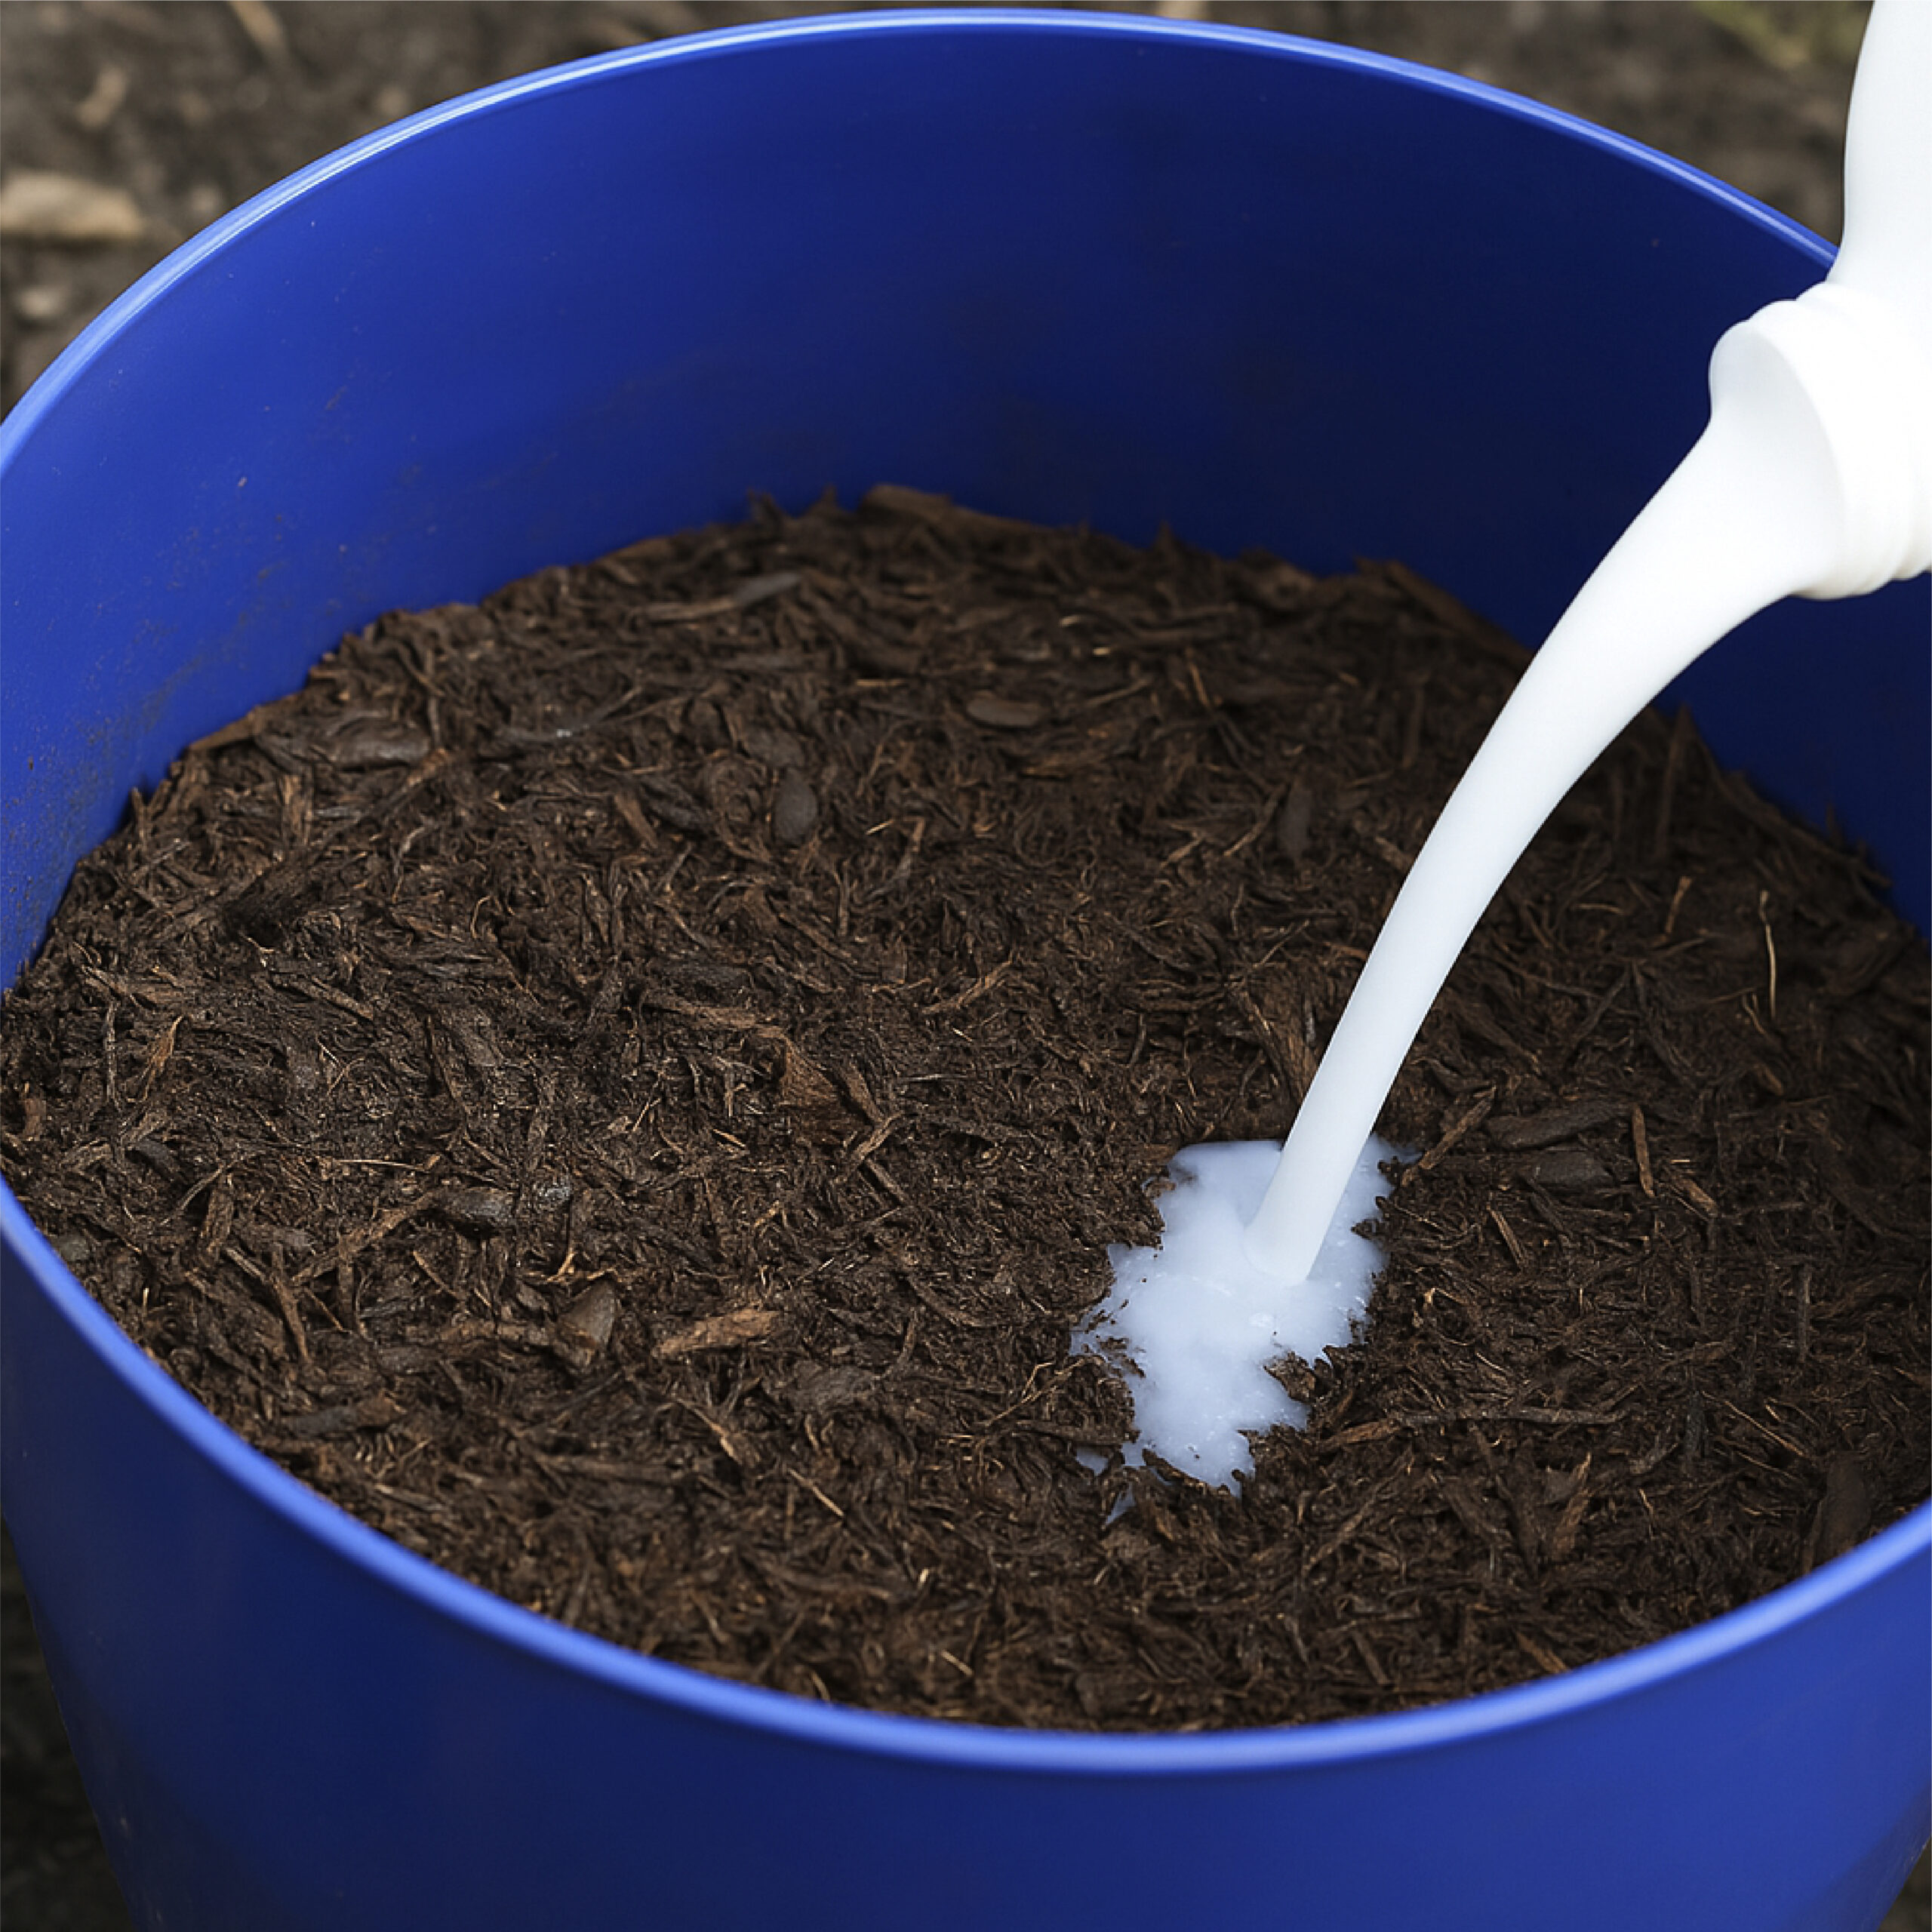
Add SOLID GROUND to a mixing bucket filled with your stones or mulch, using a ratio of 1 part binder to 25 parts material by volume.
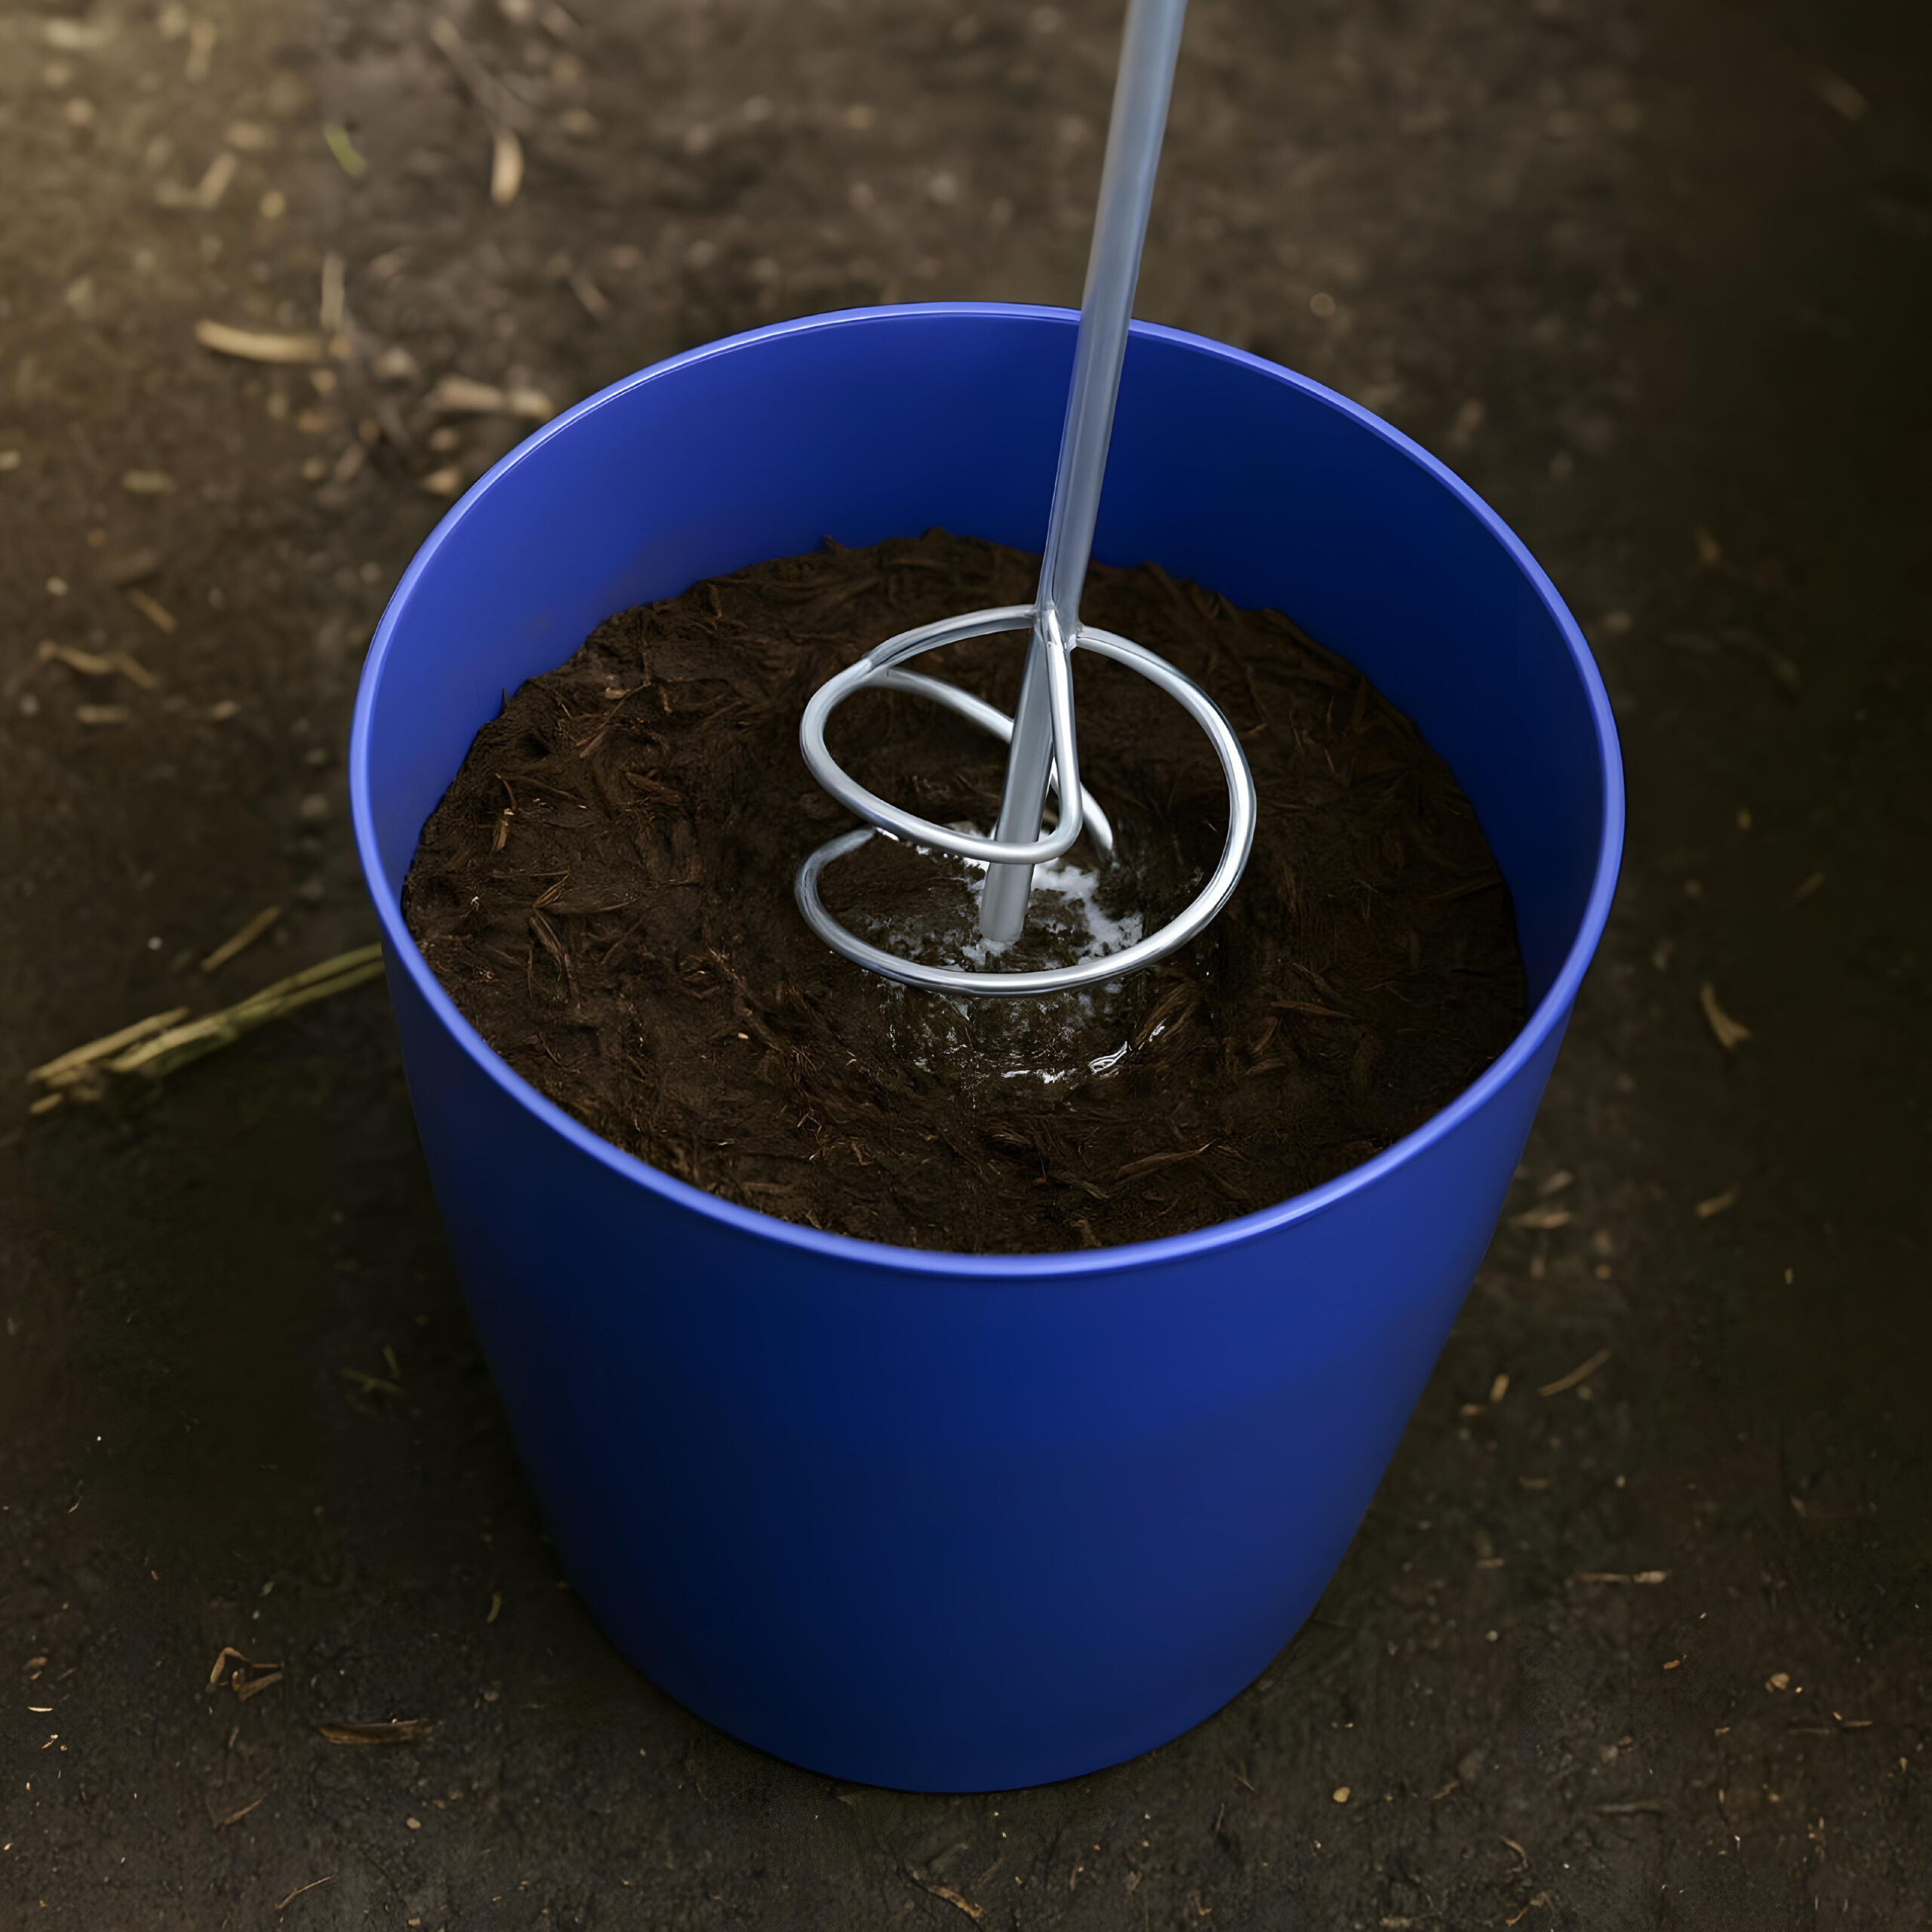
Use a mixing paddle (or stir manually) to thoroughly combine the mulch and binder. Make sure the liquid is evenly distributed through the material to create a consistent and effective blend. This step is crucial to ensure that the mulch or gravel will bond firmly after application.

Pour the blended mixture into your desired area and spread evenly to a depth of approximately 20 mm (¾”), ensuring the surface remains fully permeable for proper drainage.
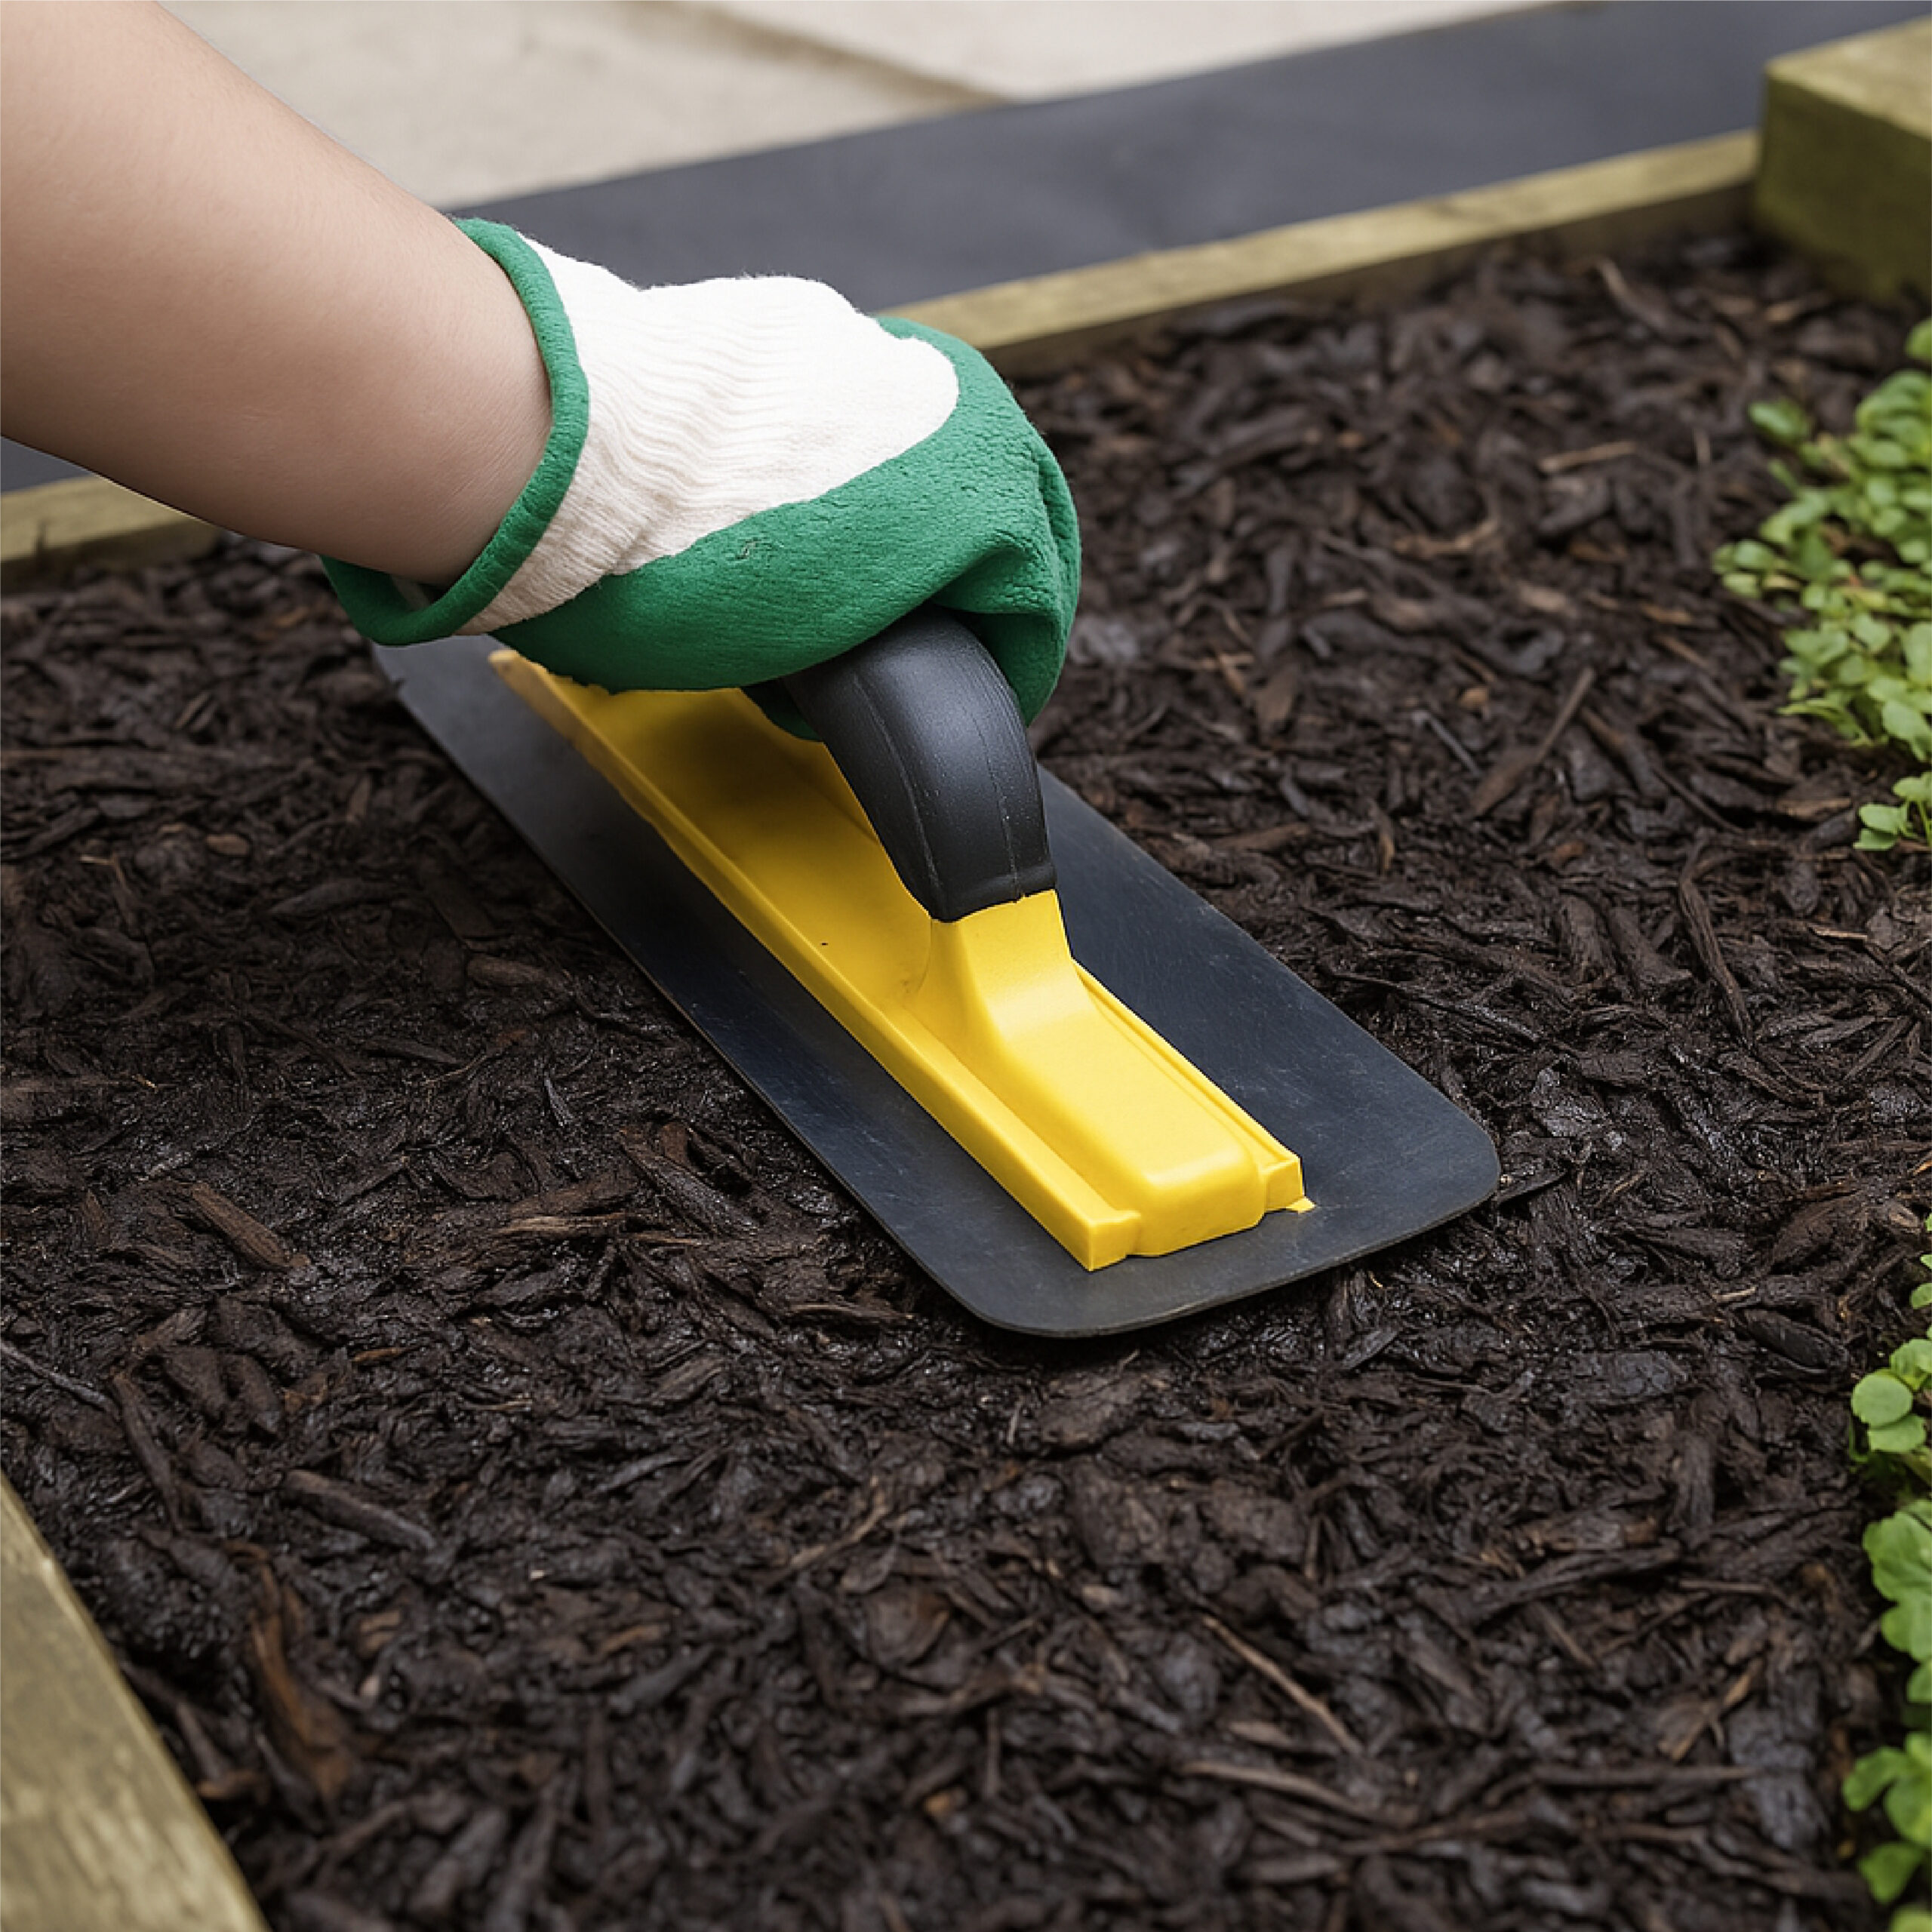
Firmly press down the stones or mulch using a trowel or a broad, flat object like a plank. Creating a smooth, compacted surface will ensure the strongest bond. ALLOW TO DRY FOR 12 TO 36 HOURS.

Before use, thoroughly shake the Solid Ground container for at least 30 seconds. This ensures that all active ingredients are evenly mixed and the formula is ready for optimal performance when poured.
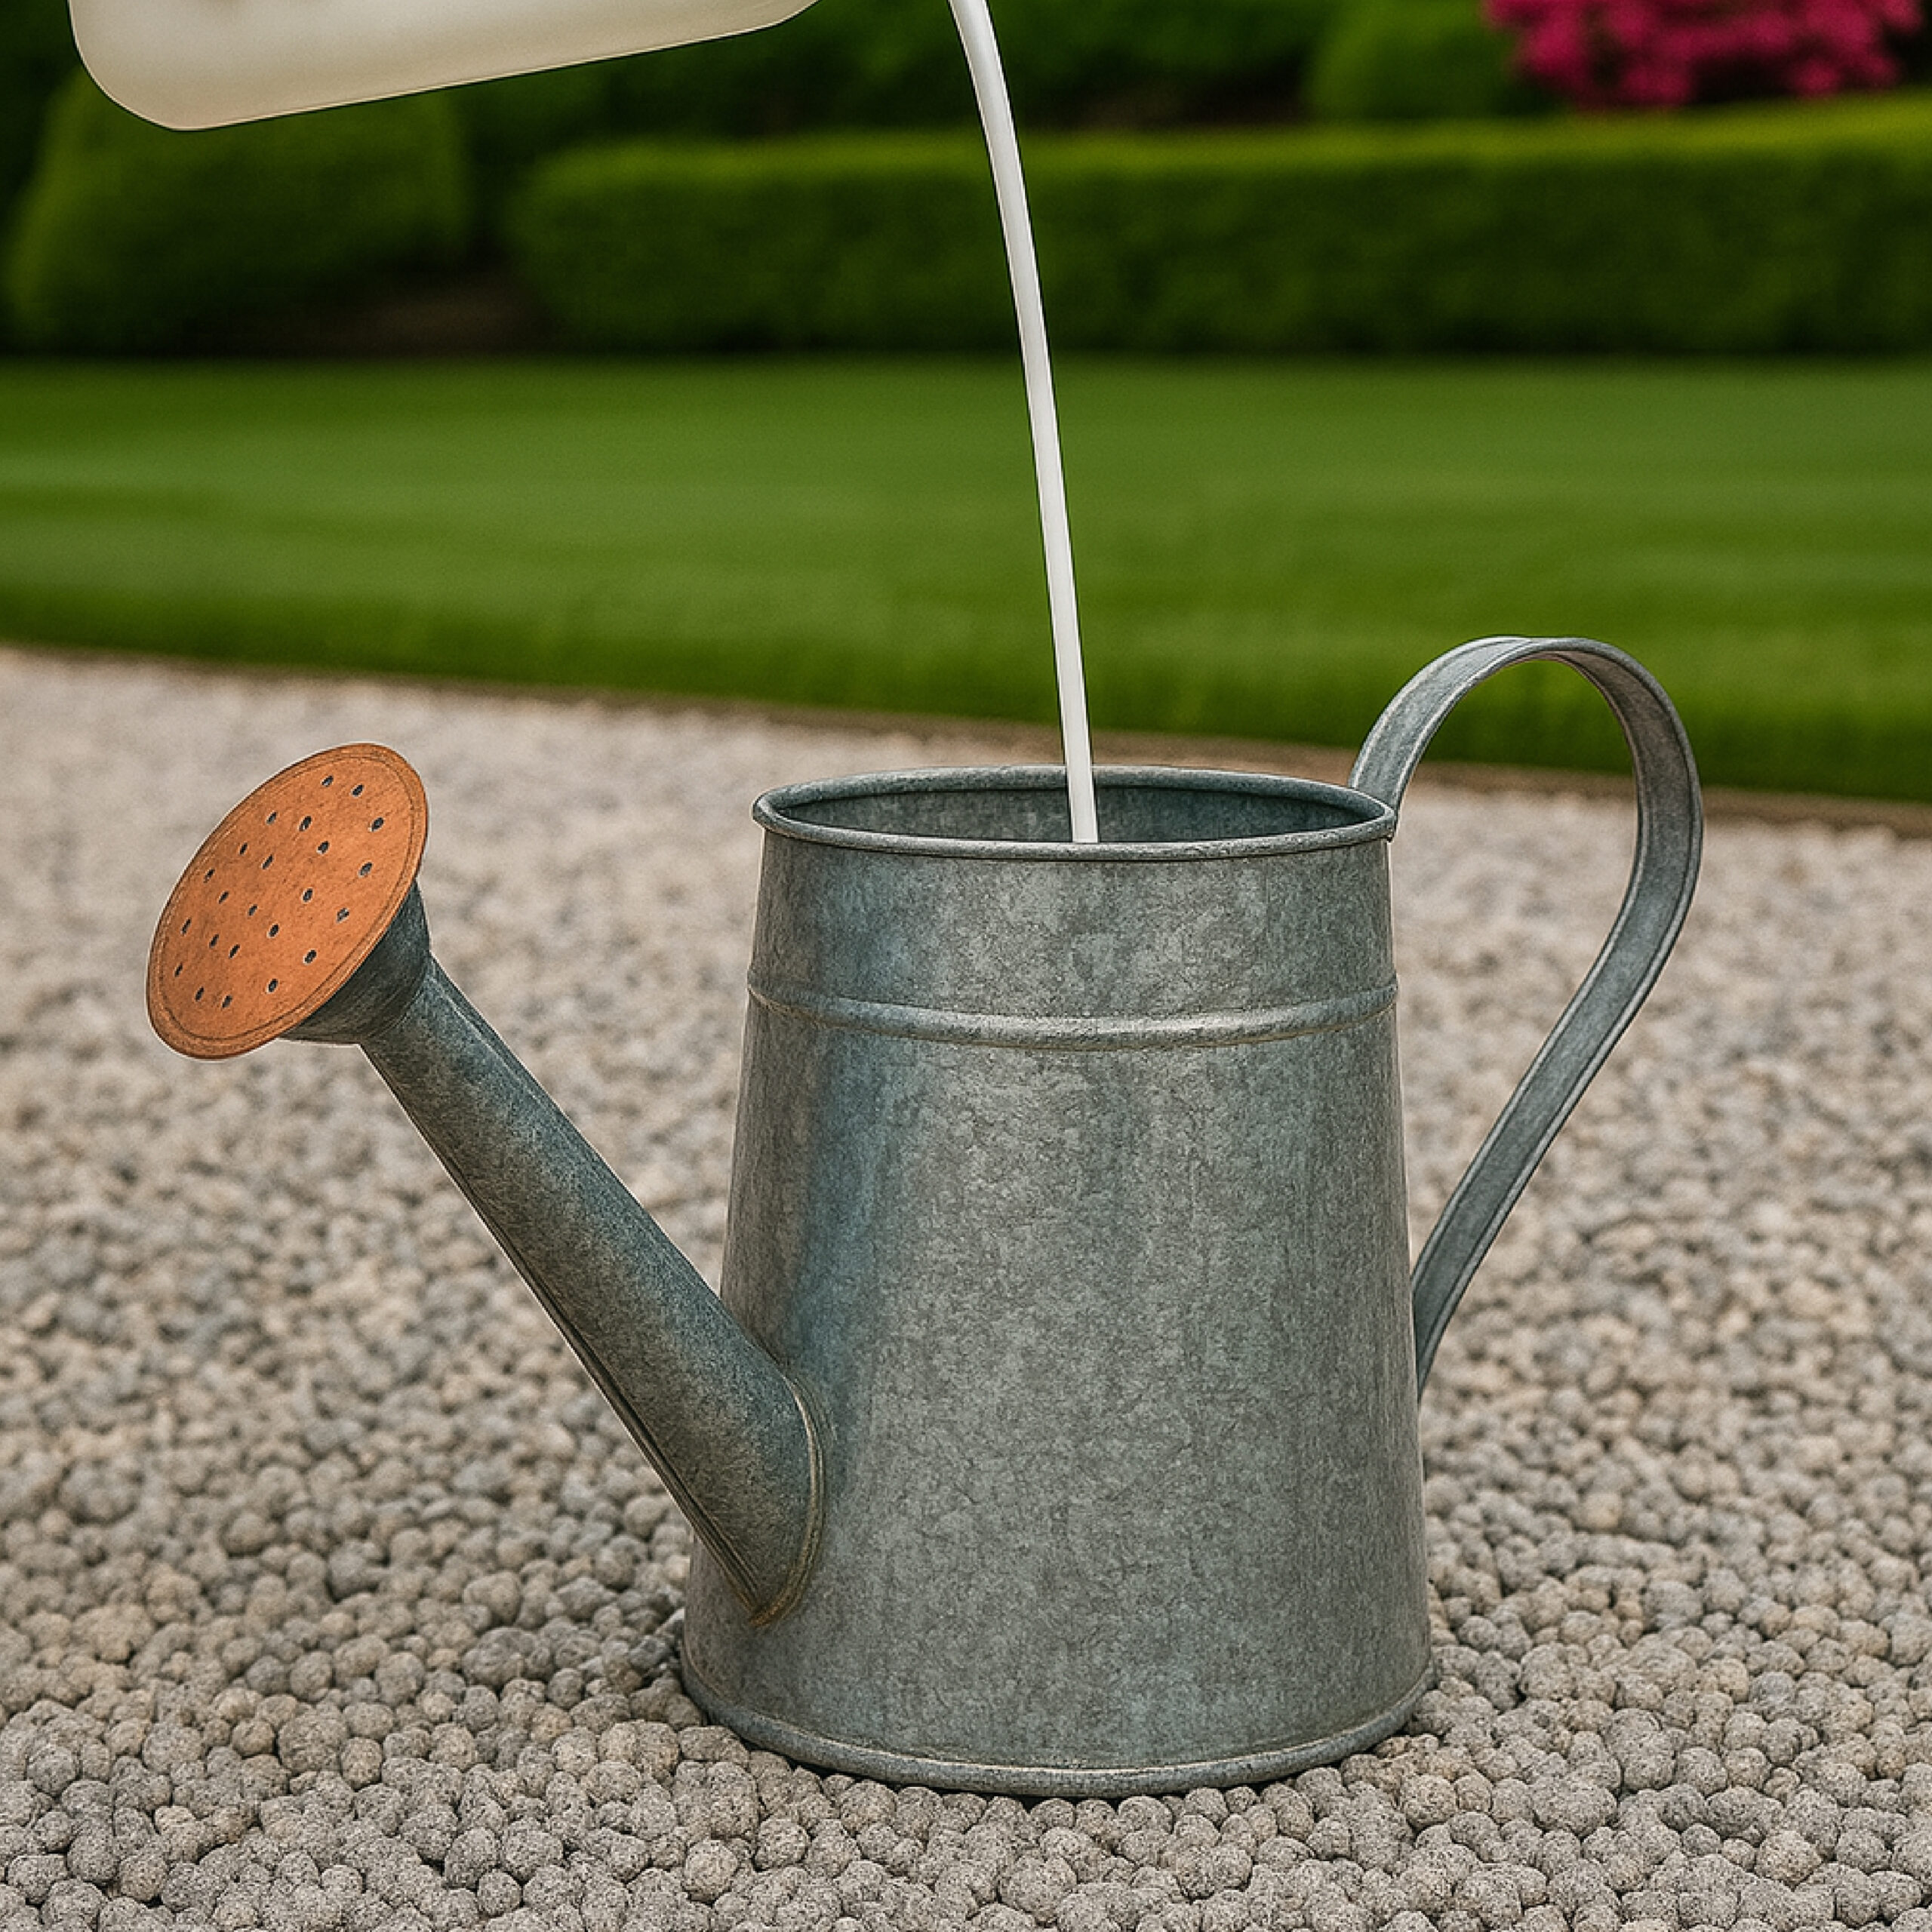
After shaking, pour the product into a clean watering can for even application. This allows you to distribute the adhesive smoothly and evenly across the gravel surface.
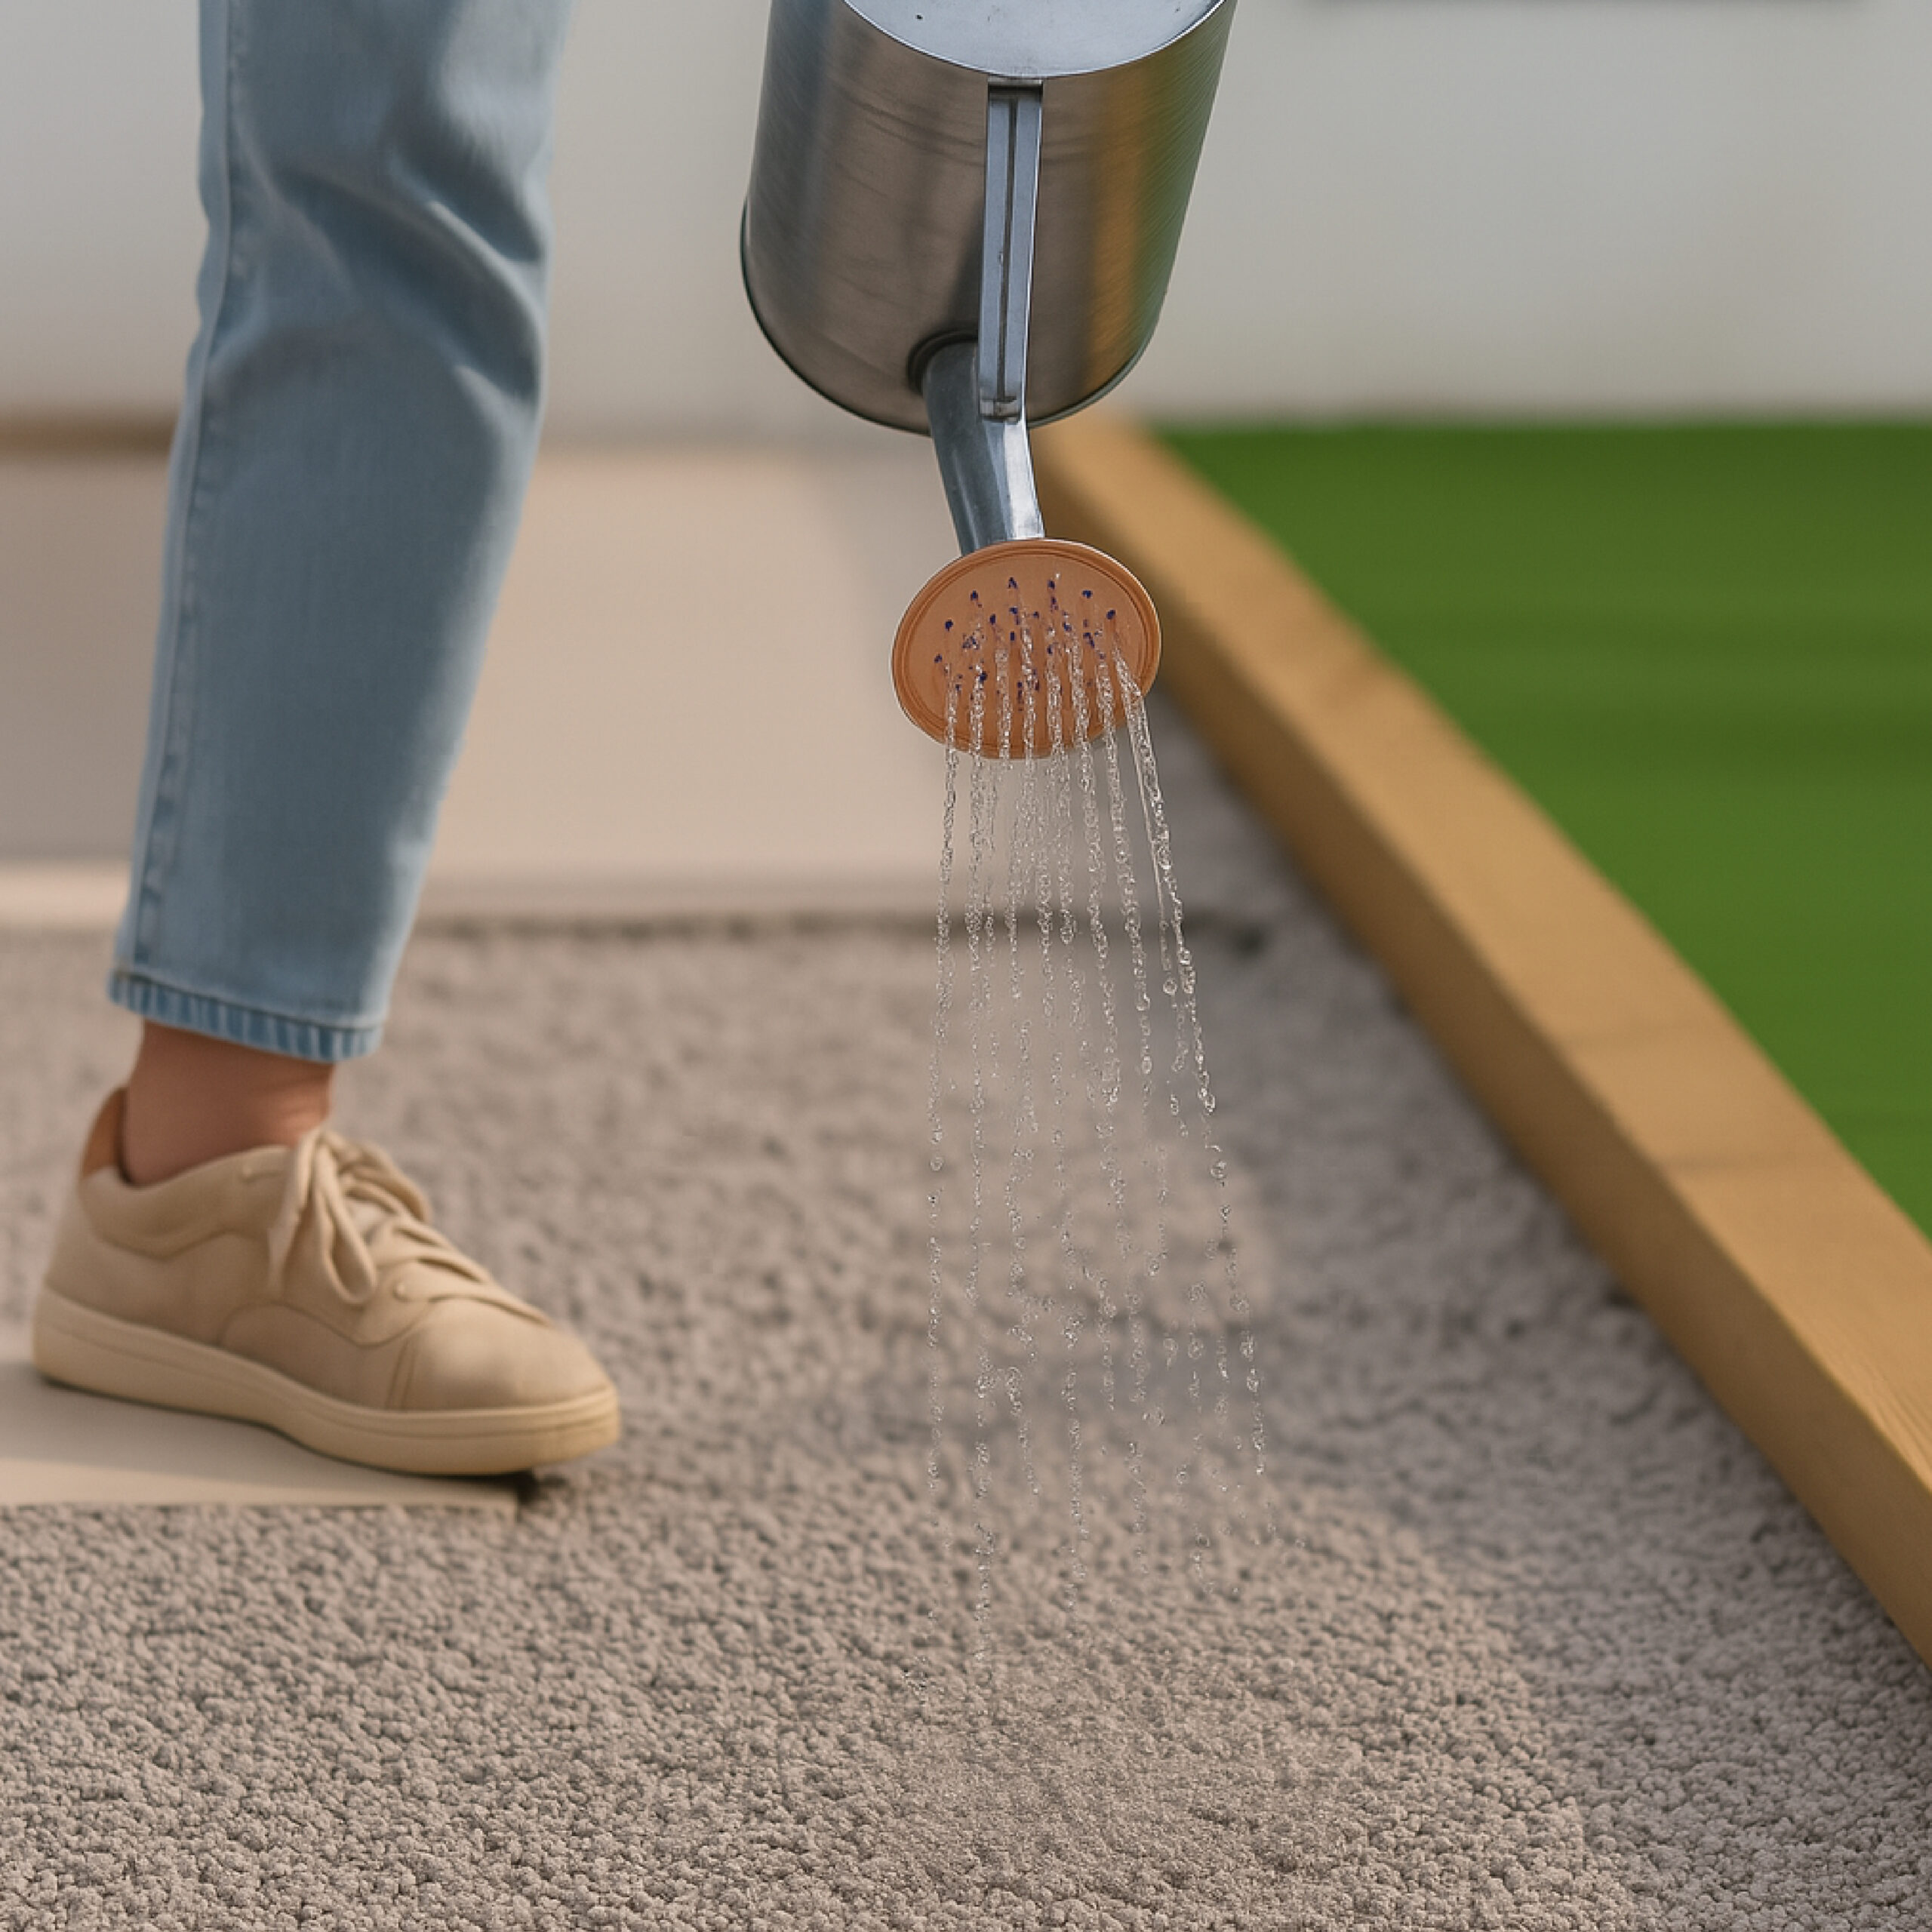
Use the watering can to evenly apply the product across the gravel surface in a steady, sweeping motion. Make sure to saturate the stones thoroughly, allowing the binder to reach the lower layers for strong adhesion.
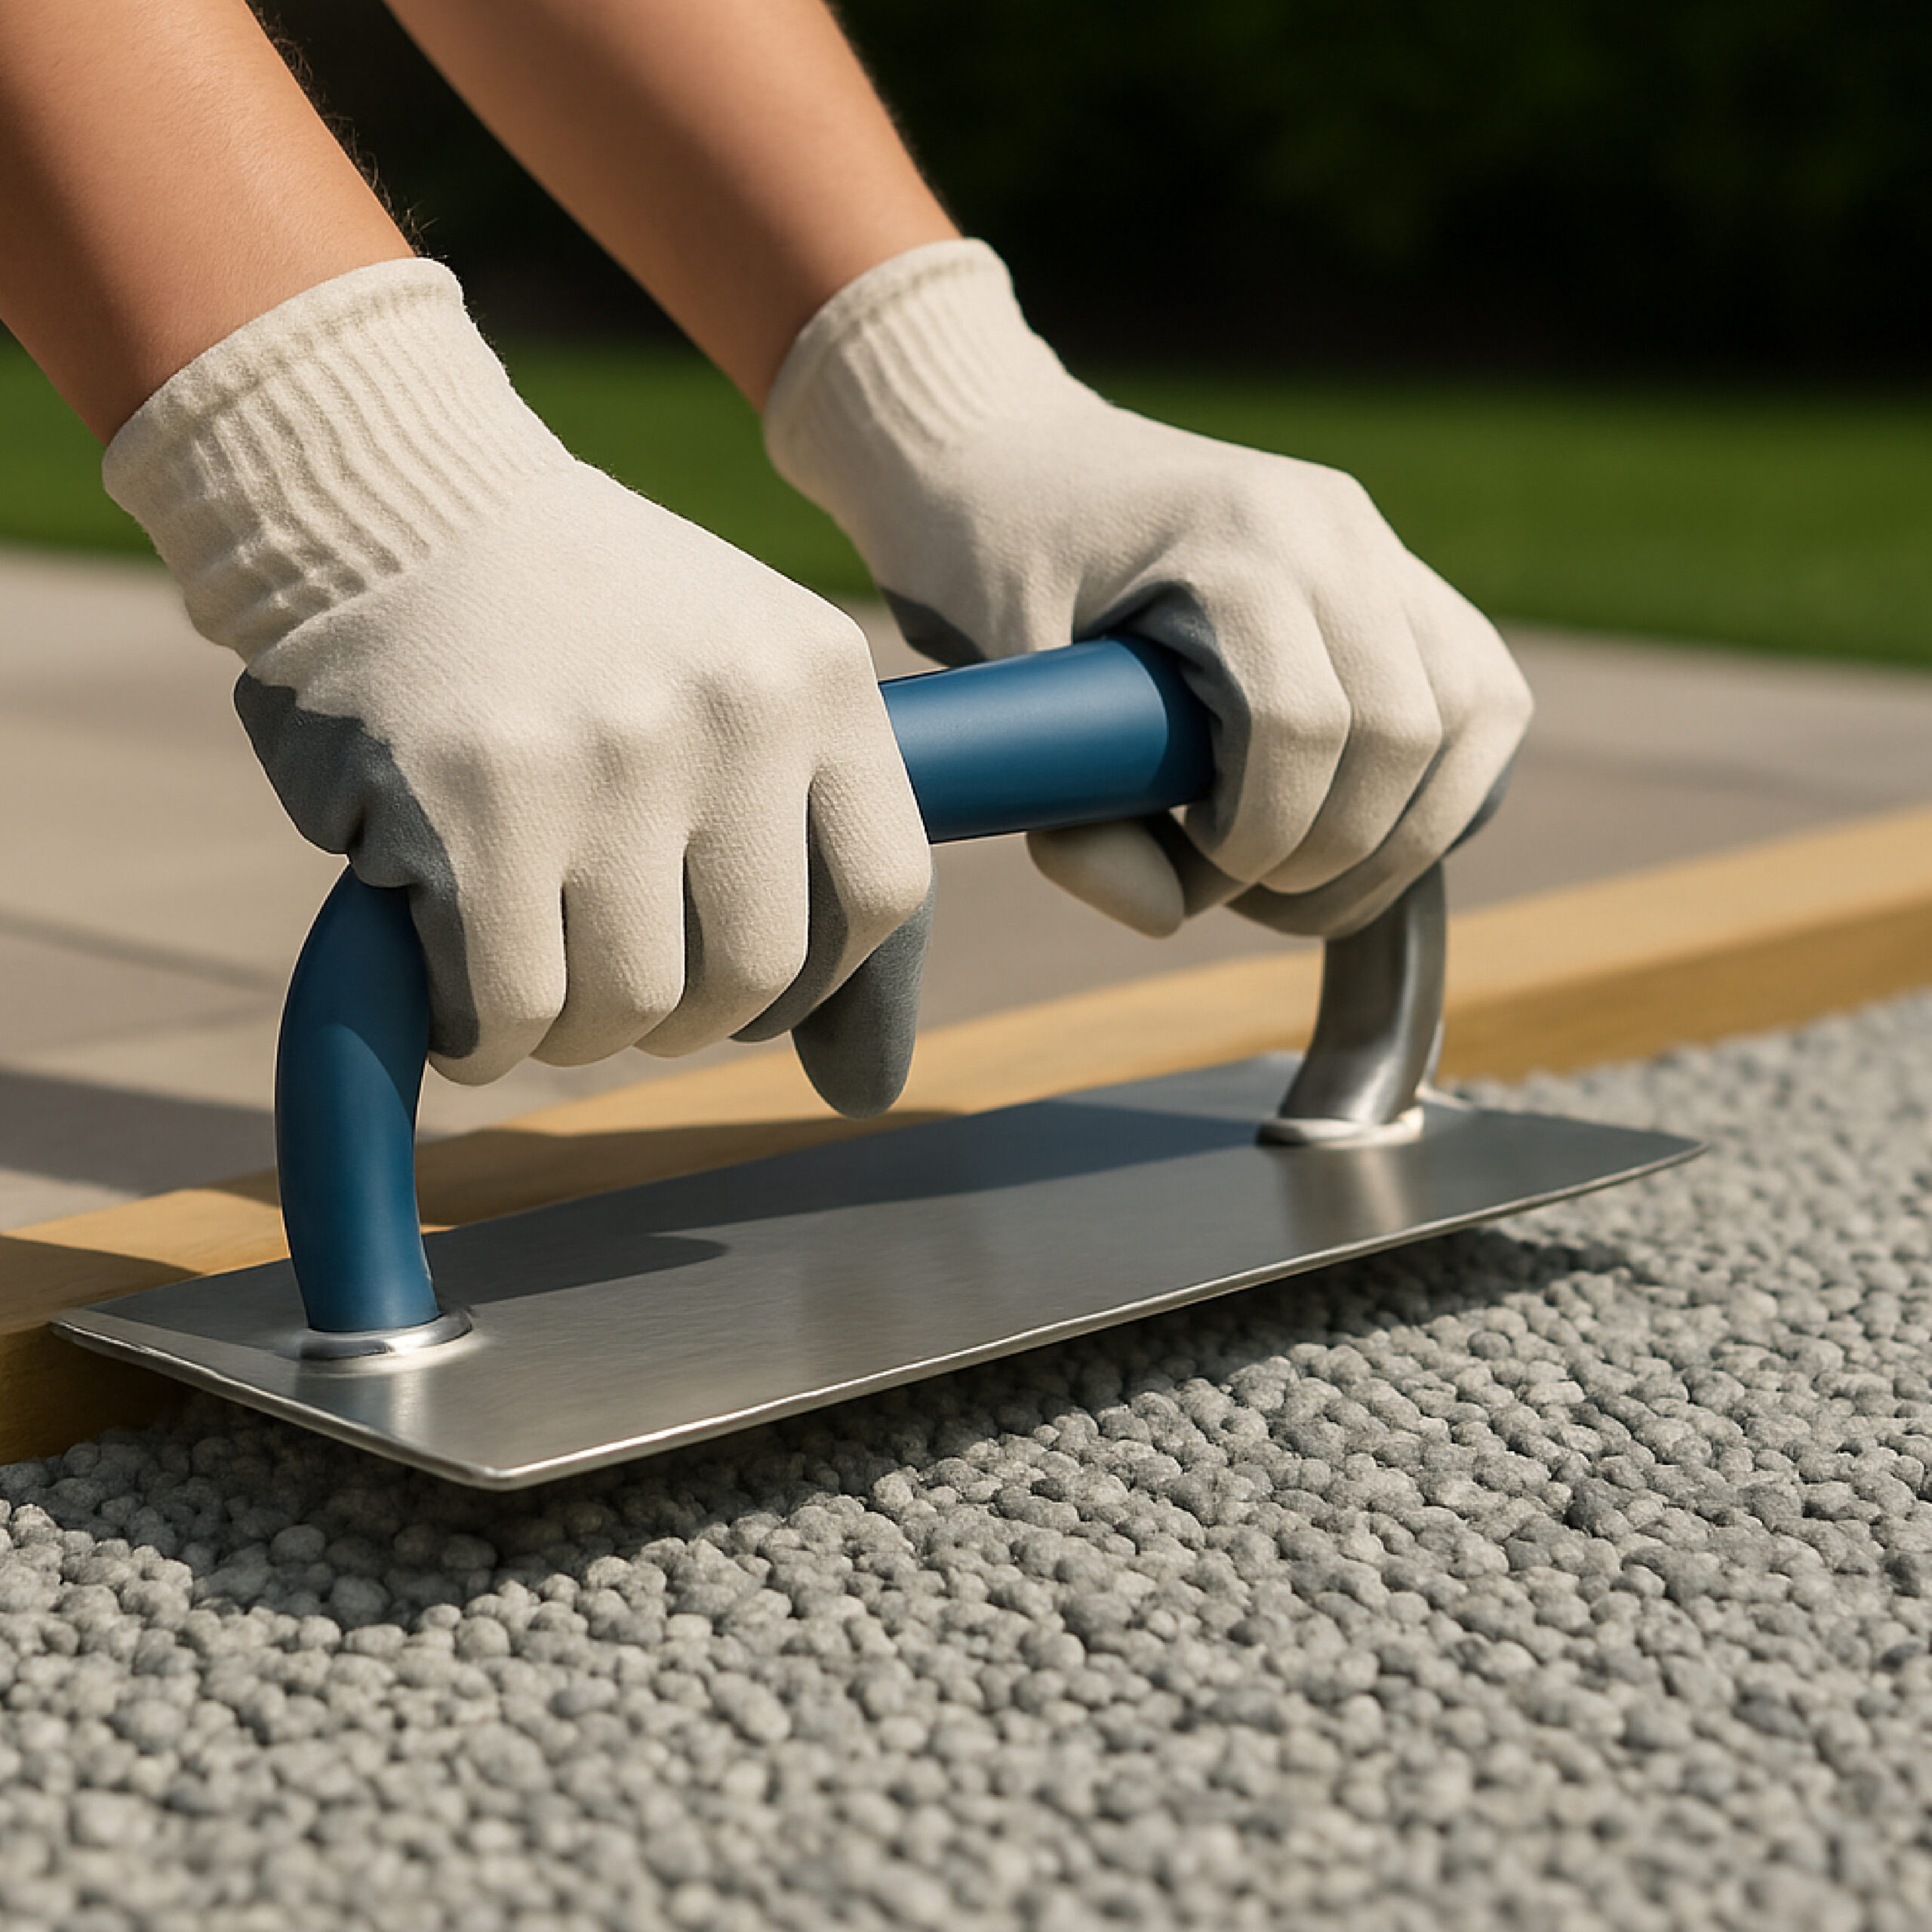
Gently press down the gravel using a trowel to help the binder reach deeper layers and create a smoother, compact finish. This step ensures better bonding and a more uniform surface.